

I saw a cool video by NightHawkInLight on Hackaday about bismuth crystals, and figured I’d take a shot at making them myself. So, I purchased a 10-pound bismuth metal ingot from an auction site for $115.
Bismuth has a low-enough melting point that it melts on the stovetop. To keep my marriage happy, I decided to take the experiment outside. I purchased a Imusa GAU-80305 1100-watt electric burner from Amazon for $11.99.
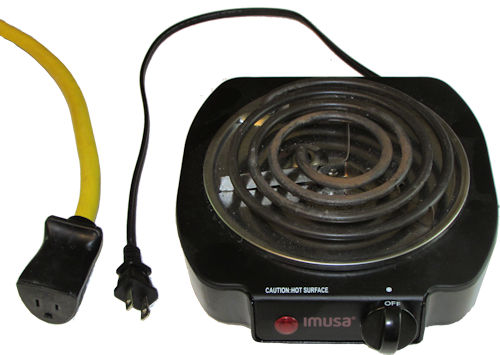
Electric burner and 10 gauge extension cord
It was a relatively cool day with a bit of wind, and the massive bismuth chunk melted excruciatingly slowly, if at all. Figuring the burner was not getting enough power due to voltage drop in the extension cord, I swapped in an over-the-top 10 gauge extension cord without success. Inside I went!
Our electric stove easily melted the bismuth, with minimal mess. That being said, be sure not to use your spouse’s “good” pans and utensils, because nasty-looking bismuth compounds can cake on them.
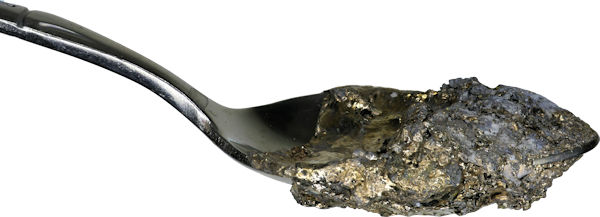
Ruined spoon
Aside: Bismuth is brittle. After taking the above photograph of the crusty spoon, a little force was applied with adjustable pliers and the bismuth cracked off cleanly in a single chunk. The stainless steel spoon showed no adverse effects, and was discreetly returned to the utensil drawer after being washed.
After melting the bismuth, I let the pan sit for a while and then picked off the top layer of bismuth with a fork. Although crystals did form, they were relatively small and not as iridescent as other people have achieved.
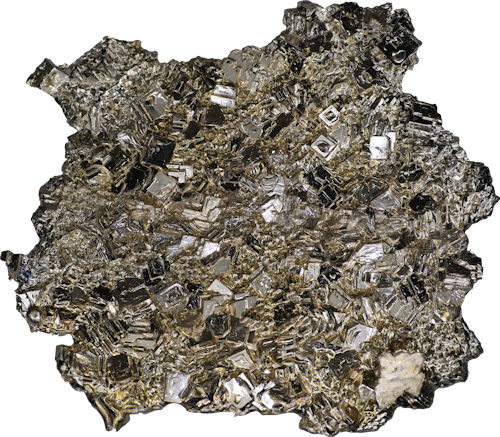
Lame bismuth crystal
I get the impression that to be successful creating awesome bismuth crystals, the bismuth must be allowed to cool very slowly. Then, the remaining molten bismuth must be quickly poured out at the right temperature. Perhaps I will experiment with a sand-insulated mold and a Flir infrared camera.
The second thing I wanted to achieve was to create a solid bismuth cylinder to go with my tungsten, aluminum, and magnesium elemental cylinders. Casting the magnesium in roughly the right shape and size would make it faster and less wasteful to machine on a lathe to the exact dimensions.
The shape of the mold was formed using blue Klean Klay non-drying modeling clay. I figured clay would survive high temperatures and would flex rather than explode due to expansion. The entire mold was then wrapped in aluminum foil.
Pouring the liquid bismuth into the mold went smoothly. However, almost immediately the clay started steaming and cracking. Nevertheless, the mold held.

Casting bismuth with clay and aluminum foil mold
Peeling the clay from the cast bismuth reveals discoloring and layering due to heating.
Peeling clay from cast bismuth cylinder
Sadly, the middle of the cast cylinder has a massive crack, rendering it unusable.
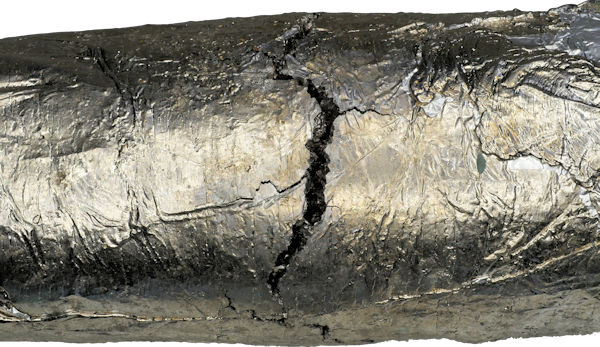
Cast bismuth cylinder with massive crack
Bismuth is unusual in that it expands when it hardens, similar to ice. As such, some technique must be used to control the cooling process, such that it cools from the inside out perhaps?
Being concerned that hazardous gasses might be emitted by overheated oil-based clay, I decided not to try again with a cylinder mold. Instead, I remelted everything and poured it into a disposable aluminum baking pan. For whatever reason, that was much more successful.
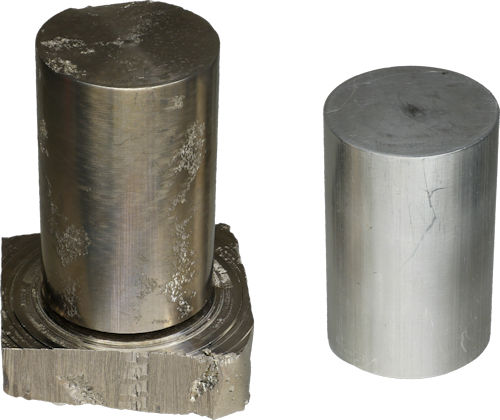
The ends of the casting were trimmed off with a hacksaw. That left enough of a solid block to create a precision cylinder.
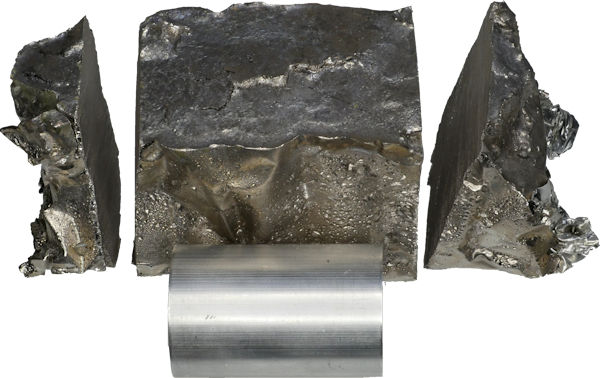
Cast bismuth cut to block before machining. Aluminum cylinder shows the desired finished dimensions.
After a little more trimming, the block was attached to a lathe. An aluminum cylinder was positioned against the block to visualize what needed to be cut away.
Sizing block before machining
And on the end...
Determining center for cylinder on bismuth block
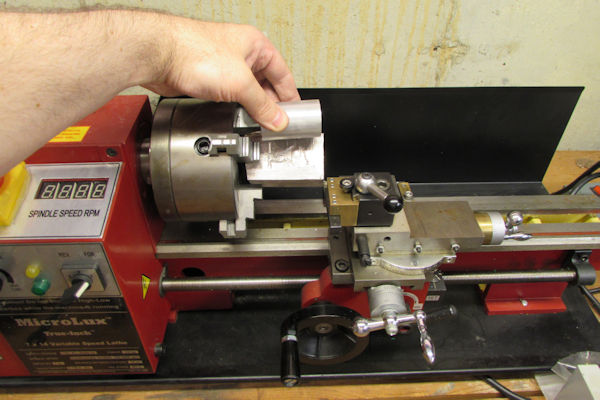
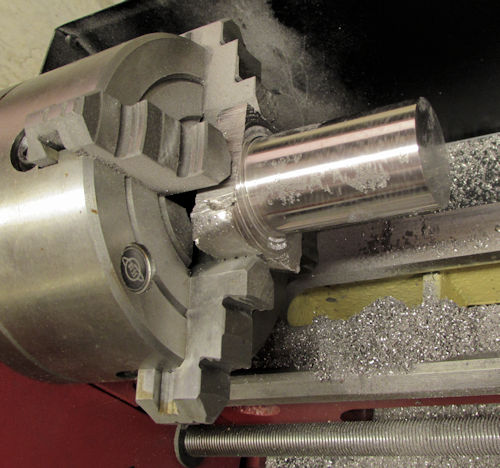
Normally, a self-centering three-jaw chuck is used in a lathe. However, three jaws cannot hold a rectangular shape. So, a four jaw chuck was used instead.
Each opposite pair of jaws are loosened and tightened to manually center the block. A pencil circle at the end of the block aligns with the cutting tool when the block is rotated by hand on the lathe if the block is properly centered.
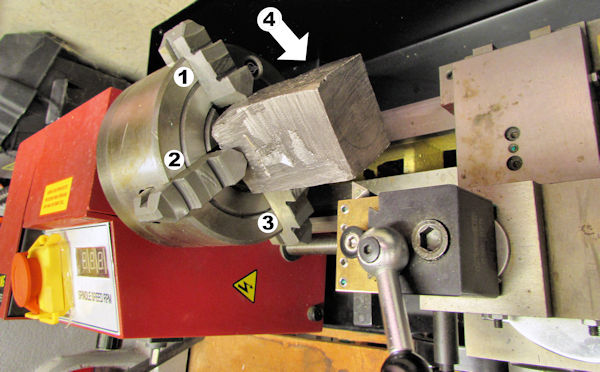
Getting ready to machine block on lathe with four jaw chuck
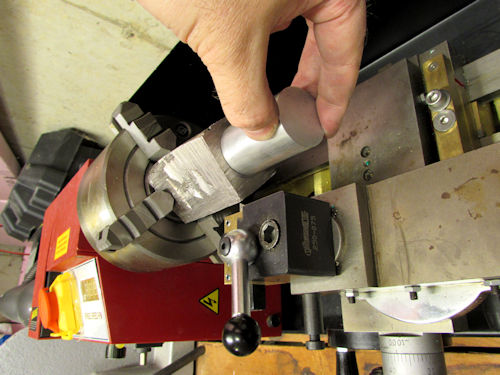
I admit that I had my doubts that this was going to work. Starting slowly, the corners were chipped away.
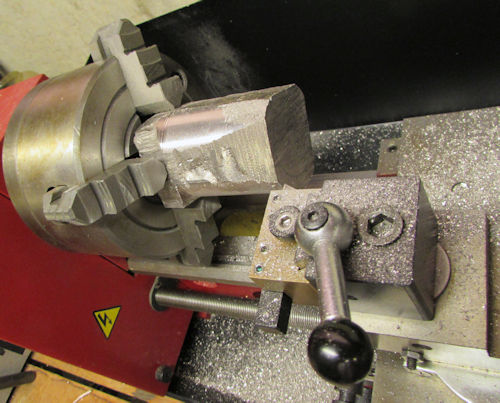
Machining corners from block on lathe
Then a little more speed was applied as the block approached a cylindrical shape.
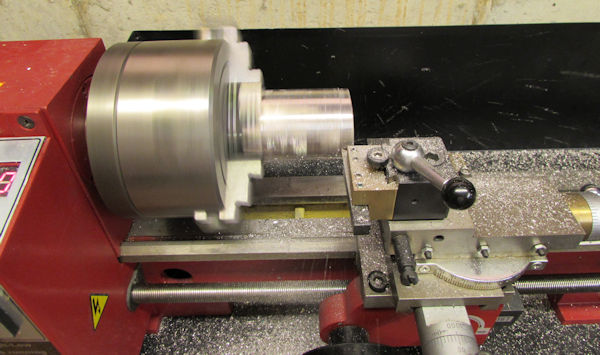
Block being machined
Wait! Why is the surface finish so bad?
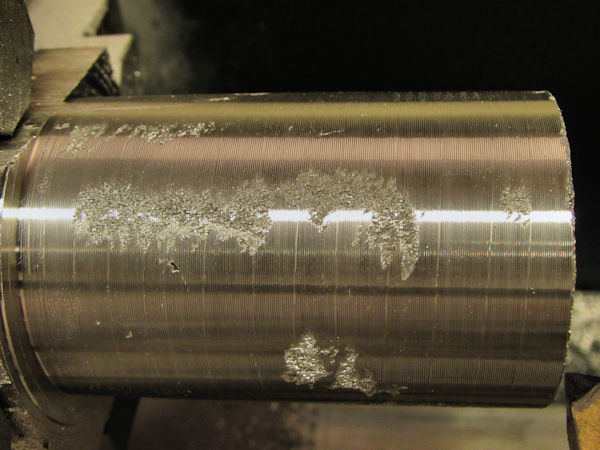
Bismuth casting or chipping problem
I tried a variety of speeds and cutting tools without luck. Although this could be due to voids in the cast material, I suspect the combination of brittleness and crystalline structure cause the metal to chip off in chunks. Alternatively, perhaps the casting needed to be cooled faster to avoid crystals, or annealed before machining.
Oh well. The bismuth cylinder successfully reached the desired shape and dimensions, and I suppose the surface texture is interesting.
Finished machined cylinder
Before parting the cylinder from the block base, and before photographing, I decided to bring the piece into work to show off. On the way home, as I got out of my car, I dropped it. The top, far-side of the cylinder shows the damage. I guess that is just the cherry on top of this series of disappointments.
Bismuth cylinder machined from block
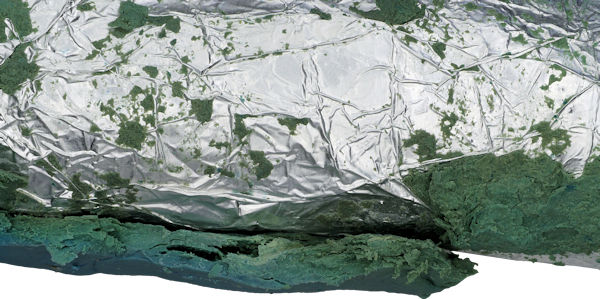
Although I have temporarily given up on bismuth, I did remelt the lathe shavings on the stovetop for future usage. Usually, a small portion of the bismuth is lost to oxidation with each melting. However, because other chips of materials (brass, aluminum, plastic) likely contaminated the reclaimed bismuth chips, there was a lot more dross this time. The greenish curdles floating on top of the molten bismuth are some sort of compound that won’t return to usable state without alternative processing.
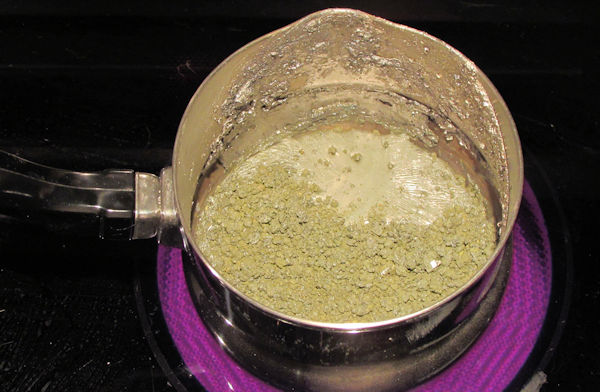
Remelting bismuth on stovetop
In summary, I wasted a weekend learning why elemental bismuth is not commonly used for metal parts.