

We have successfully verified that AVR Studio is communicating with the STK500 programming tool. We’re ready to write to the microcontroller chip itself.
The Atmel AVR microcontrollers have a scary sounding name for their on-chip non-volatile settings: fuses. The word “fuses” invokes the sense of something that is going to burn out and need to be replaced. Although it is true that you can set some values that would make it difficult to program the chip (disable reset or disable SPI), the fuses are really just settings.
Switch to the Fuses tab to see the current values for the chip that you have installed on the STK500.

Atmel ATtiny45 fuse settings in AVR Studio.
By default on the ATtiny microcontrollers, the brownout is usually disabled and the internal clock is usually divided by 8. For my 5 V project, I want the chip to stay asleep until the power level reaches 4.3 V or higher. Also, I want to use the internal clock and to allow it to stabilize (SUT_CKSEL) for a reasonably long period of time since startup time is not an issue for my project. Refer to the datasheet that comes with your chip to determine the clock source and appropriate startup period.
When you’re happy with your settings, click the Program button. These are chip settings, not STK500 settings.
I use the ImageCraft AVR ICC to write and compile programs in the C programming language. Usually, I'll write the program to the chip directly in the ImageCraft environment. Behind the scenes, ImageCraft calls the AVR Studio library which communicates through the STK500.
Alternatively, someone can supply you with the finished compiled code, in the form of an object file in HEX format. In this case, you don’t need the source code or a development environment. You can simply write the HEX file to the chip using the Program tab in AVR Studio.
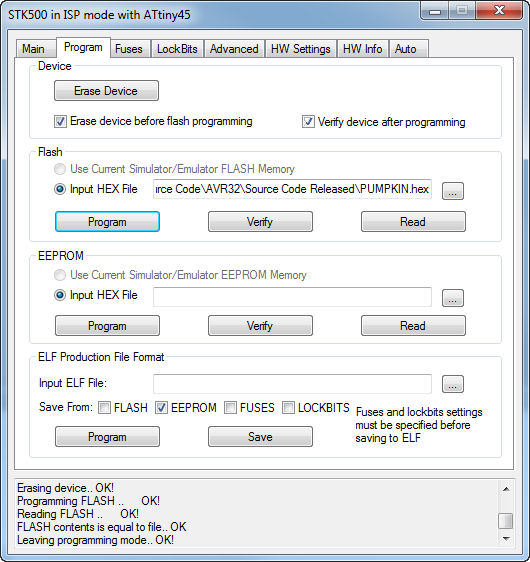
Programming an Atmel chip with AVR Studio.
In the Flash section, at the end of the Input Hex File field, click the “...” button to navigate to the HEX file that you want to write. If the project also has an EEPROM Hex file (optional), you can select it in the section underneath. Then, click the Program button.
I learned most of this through trial and error, searching websites, and reading Atmel’s guide. The documentation for their tools is included in AVR Studio, under the Help->AVR Tools User Guide menu. Then, click on the STK500 section.
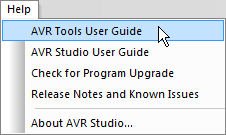
AVR Tools User Guide menu in AVR Studio 4.
I hope this tutorial helps you. The STK500 is fairly easy to use once you get the hang of it. But, it can seem daunting at first.
Given that Atmel is phasing out the STK500, there may come a time when it is no longer supported. Yet, given the price-point differential to the new programming board, I suspect the STK500 will continue to be popular for many years.
After this article was written, I added an additional page to describe high-voltage programming. Let’s see the benefit of that...